Practical Tips To Improve Your ECG Trace Quality
Posted on: 05/07/2024
Top Tip: Work backwards from the patient to the ECG device.
1. Is the skin prepped properly?
-
Clean the skin thoroughly to remove oils, sweat, and dirt as these can interfere with electrode adhesion and signal quality. Skin prep wipes are ideal for this task.
-
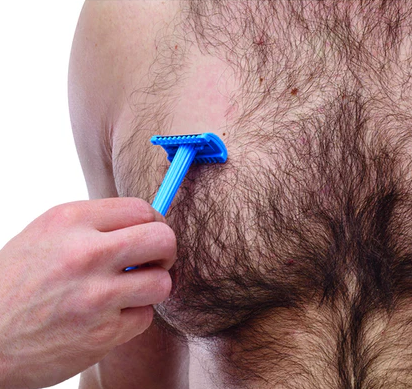
Shave excessive hair if necessary, especially for men, to ensure electrodes make good contact with the skin. Use disposable razors.
2. Is the electrode placement correct?
-
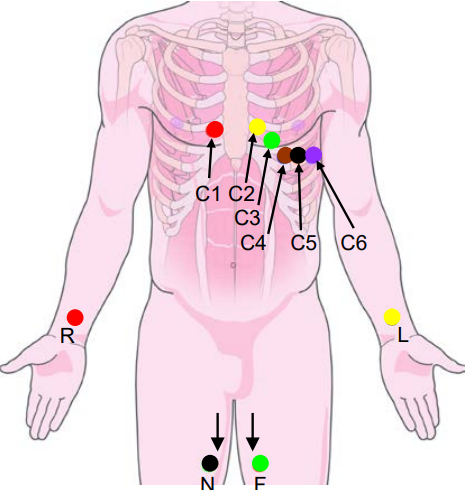
Follow standard placement guidelines (using the 12-lead ECG placement) to ensure electrodes are positioned correctly. See Guide Here
-
Ensure each electrode is firmly attached and securely in contact with the skin without gaps or air bubbles underneath.
3. Are you using good quality electrodes?
-
Use high-quality electrodes that are designed for resting ECG measurements. These typically have good conductivity and adhesive properties. Make sure that electrodes are in-date, and you aren't using a packet that has been opened for a long time, as gel adhesives can deteriorate over time. Examples of market-leading high-tack adhesive electrodes include the Kendall, Ambu and Skintact brands

4. Assess the clip connectors you are using
-
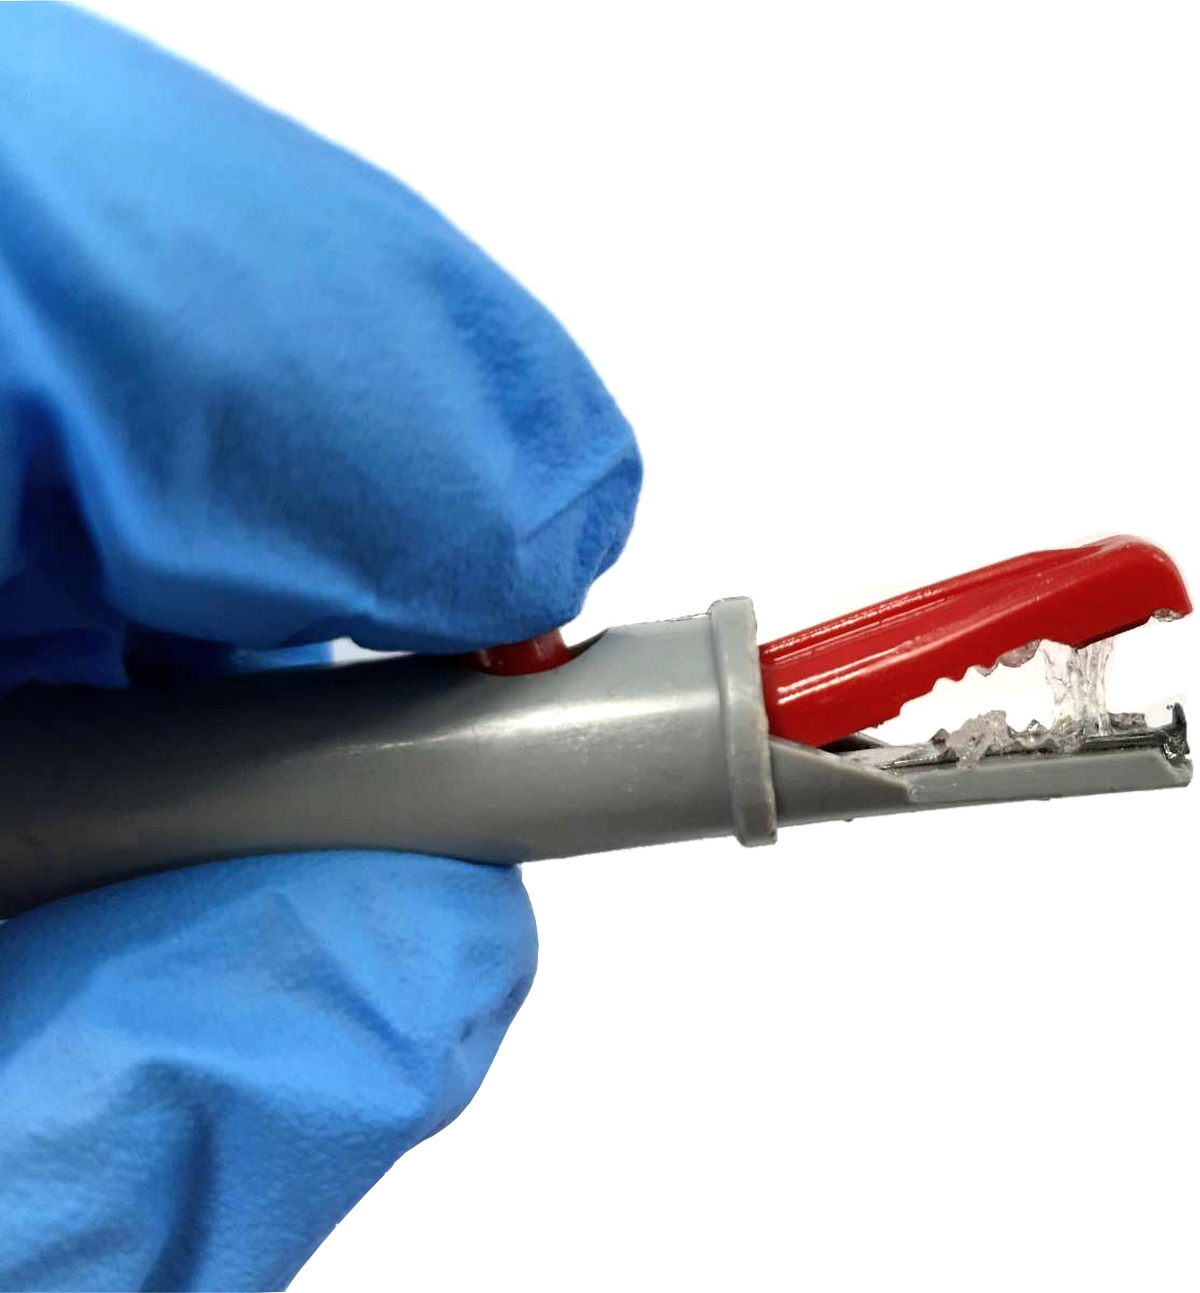
Take a good look at the clips that you attach to electrodes on the patient. Very often these become gummed up with adhesive residue from the electrodes. Use surface alcohol wipes to remove this or replace the clips.

-
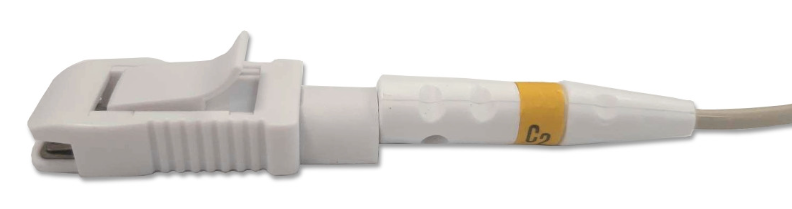
If you are currently using crocodile/alligator clip connectors, it might be worth switching over to snap clip connectors. They have a larger flat surface and are less likely to retain electrode adhesive meaning that they can be more likely to pick up a better-quality trace.
5. Assess your ECG cable
-
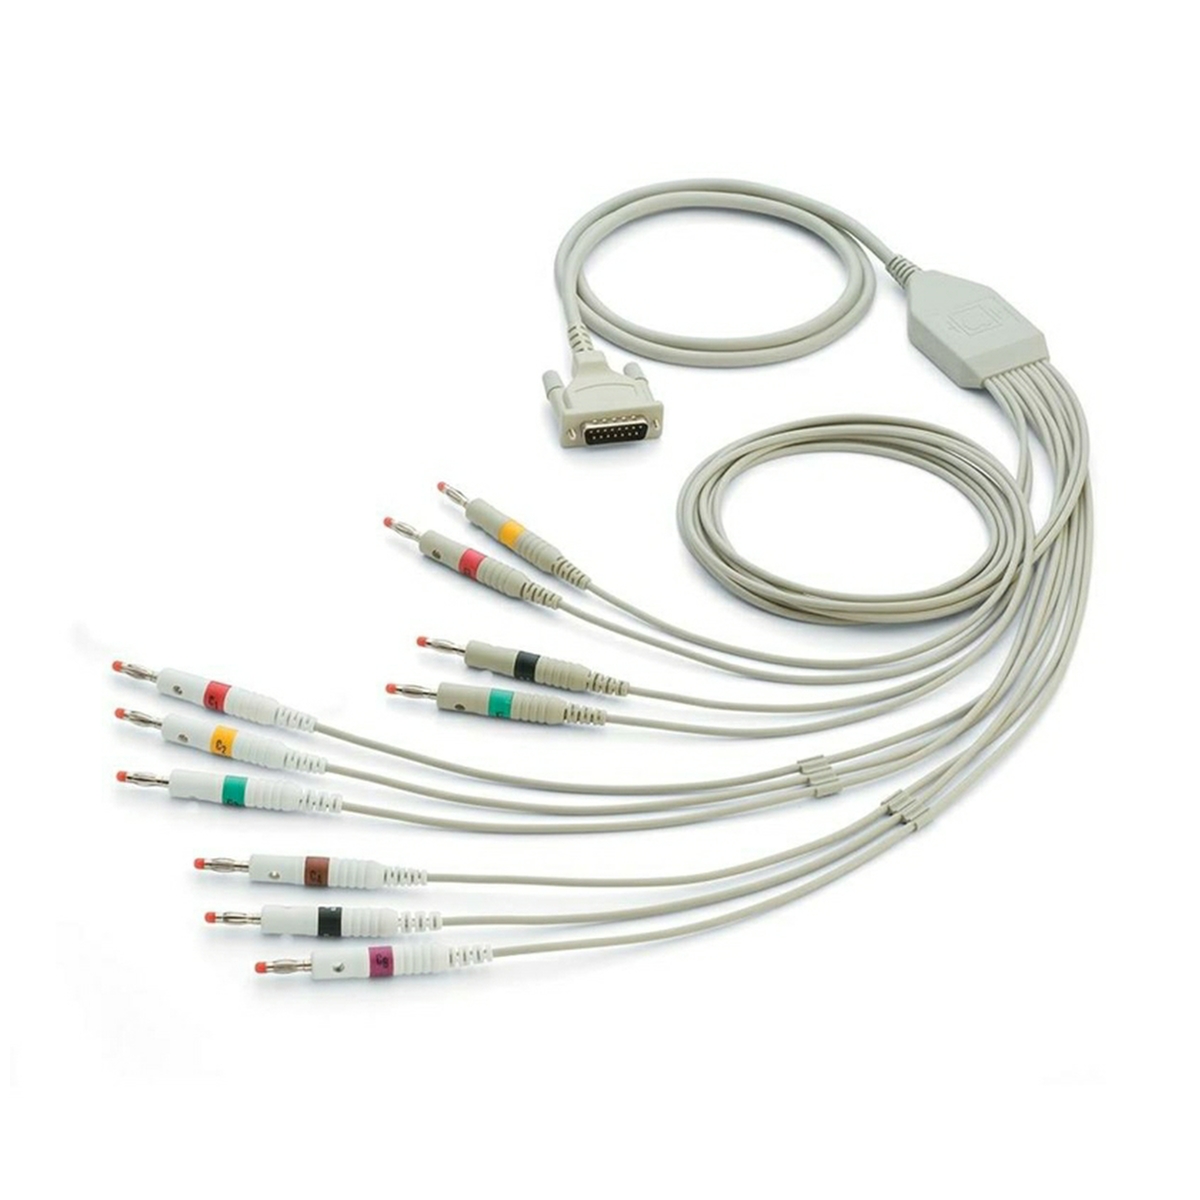
Remove all the clip connectors from the banana plugs on the end of each lead. Are they clean or are they gummed up with electrode adhesive? As mentioned above, use surface alcohol wipes to remove this then refit them.
-
Check for any damage to the cables, ensure leads are untangled and properly connected to the clip connectors and the ECG machine. Loose or tangled cables can introduce noise.

-
Does the poor signal affect all the leads or just one or two? A poor signal on a specific lead can indicate a broken cable. Do not allow the ECG leads to dangle onto the floor when not in use, as this increases the risk of broken cables. We would recommend you consider using a specific ECG trolley with a mounted cable arm for safe storage.
-
It is common for a defective lead or cable to be responsible for your connectivity issues, and replacement leads are readily available for all devices.
6. Check your ECG for any faults
- Check when your device was last tested or calibrated to make sure it is functioning correctly.
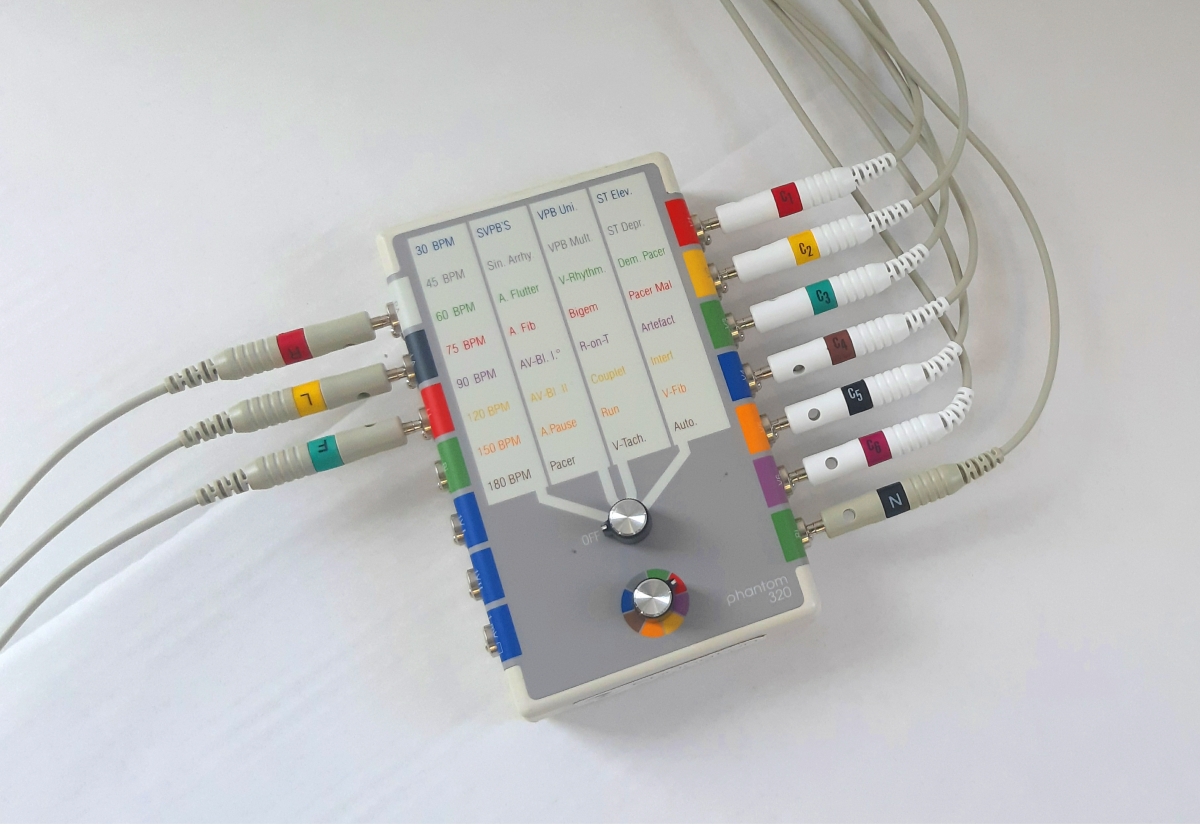
- An ECG can easily be cross-checked to see if they are performing correctly with the use of an ECG simulator which generates a variety of cardiac rhythms. If necessary, a return to the manufacturer or an approved service centre for recalibration may be required.
Hopefully, these tips help to resolve your connectivity issue when you go to repeat your recording.
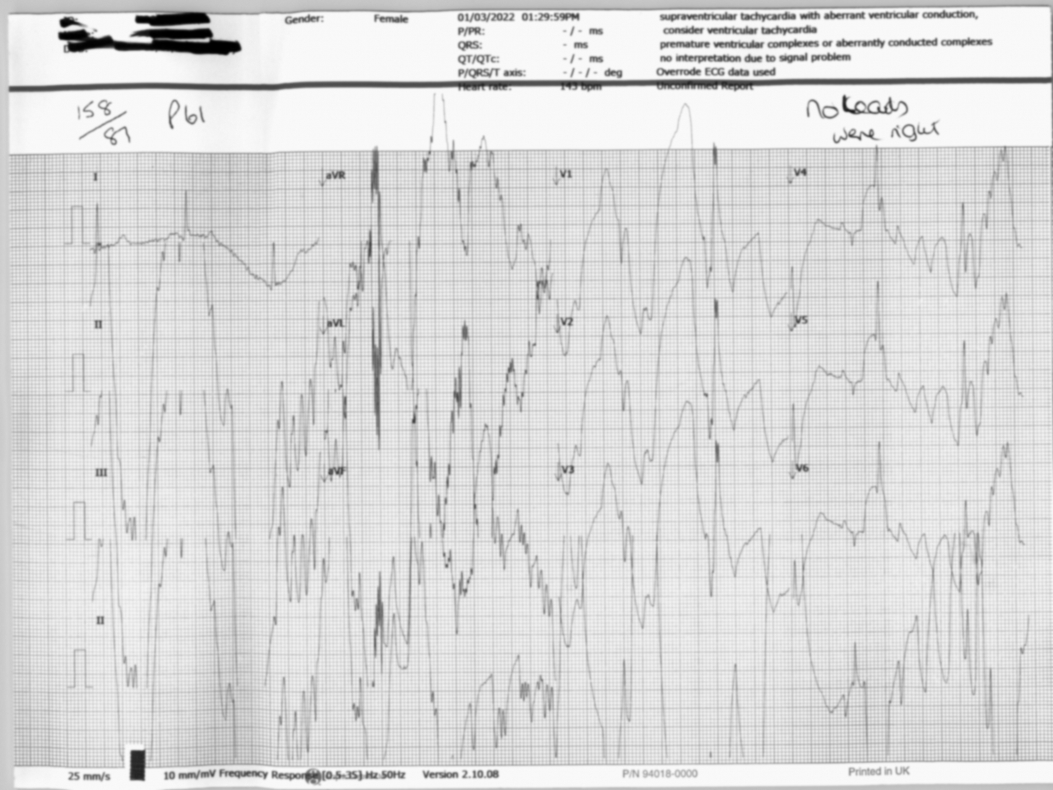
And, in case you were wondering, below is a classic example of what a poor signal printout looks like.