How To Operate A Temperature Data Logger
Posted on: 08/08/2024

How Set Up The Data Logger

Click to view the step-by-step guide
1. Download the software - click HERE
2. Find and open the app - it will open in a popup widow
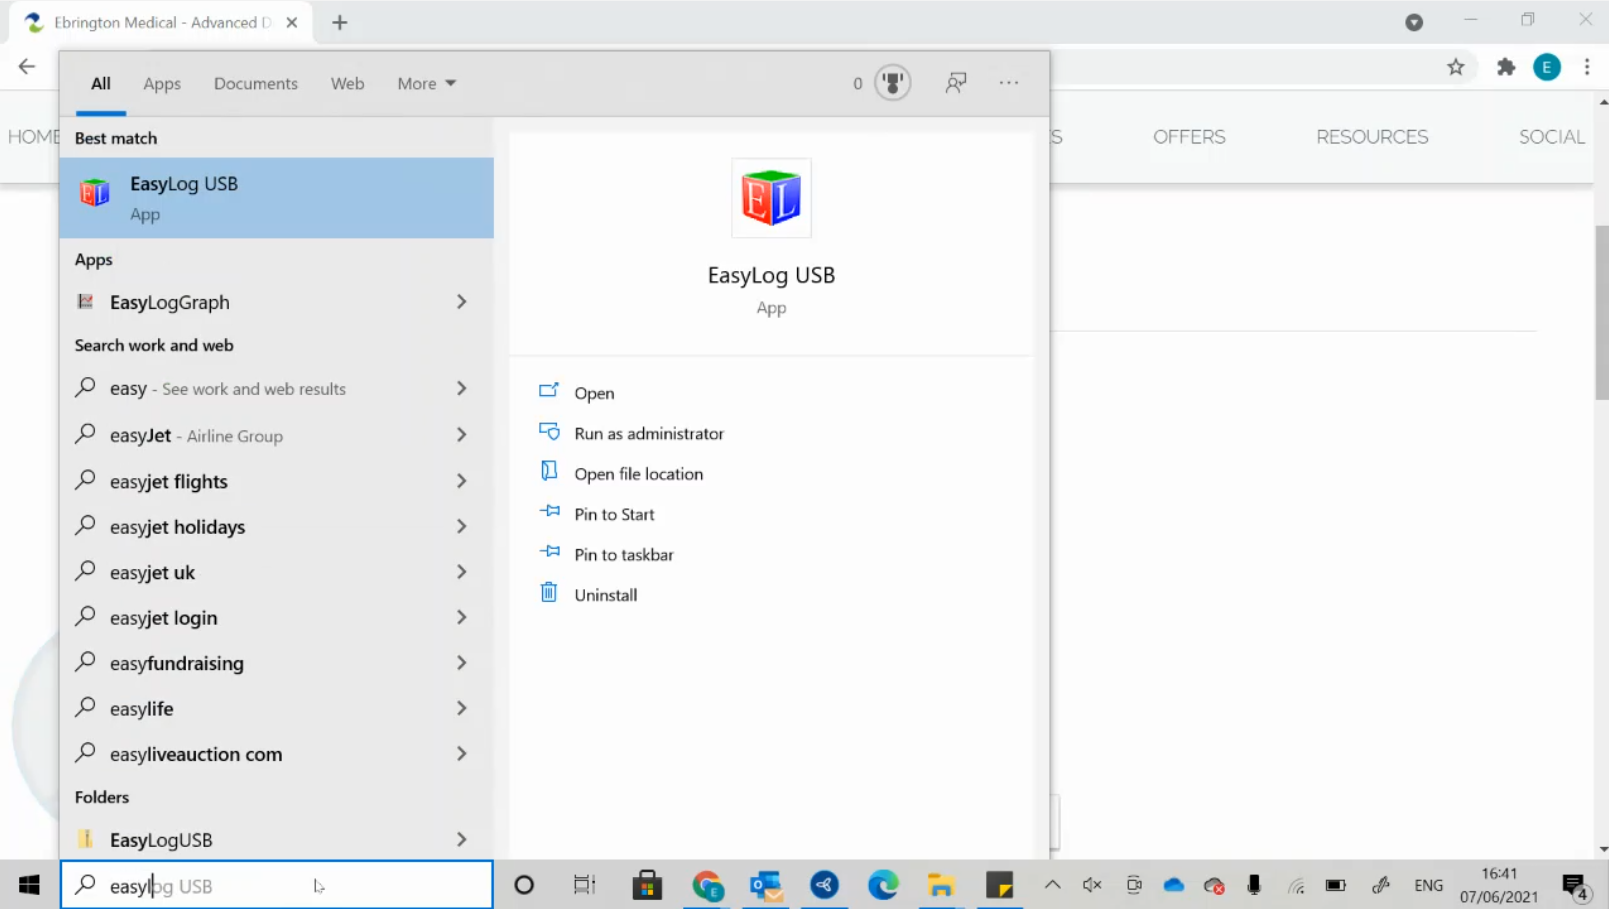
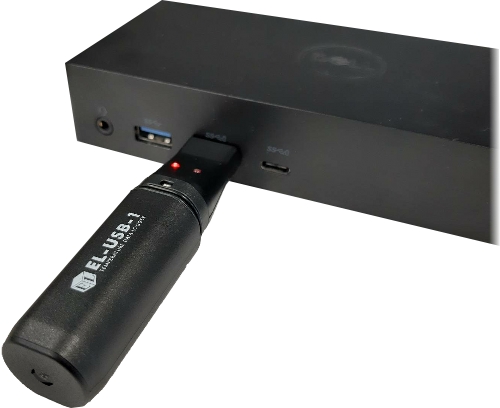
3. Slot the data logger into your computer USB port
(If you are using a new data logger for the first time, it may need the battery inserted)
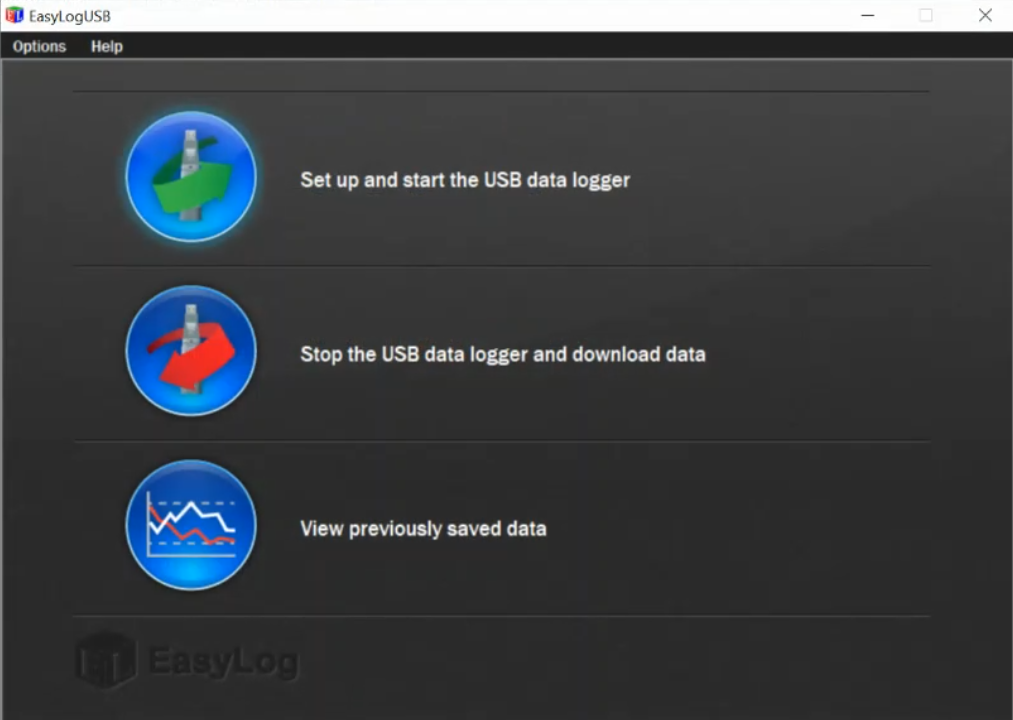
4. Click on Set up and start...
5. Settings Page 1
Name the data logger - Perhaps after the room or fridge it is in
Select temperature - Celsius
Frequency – we recommend every 15mins or 30mins
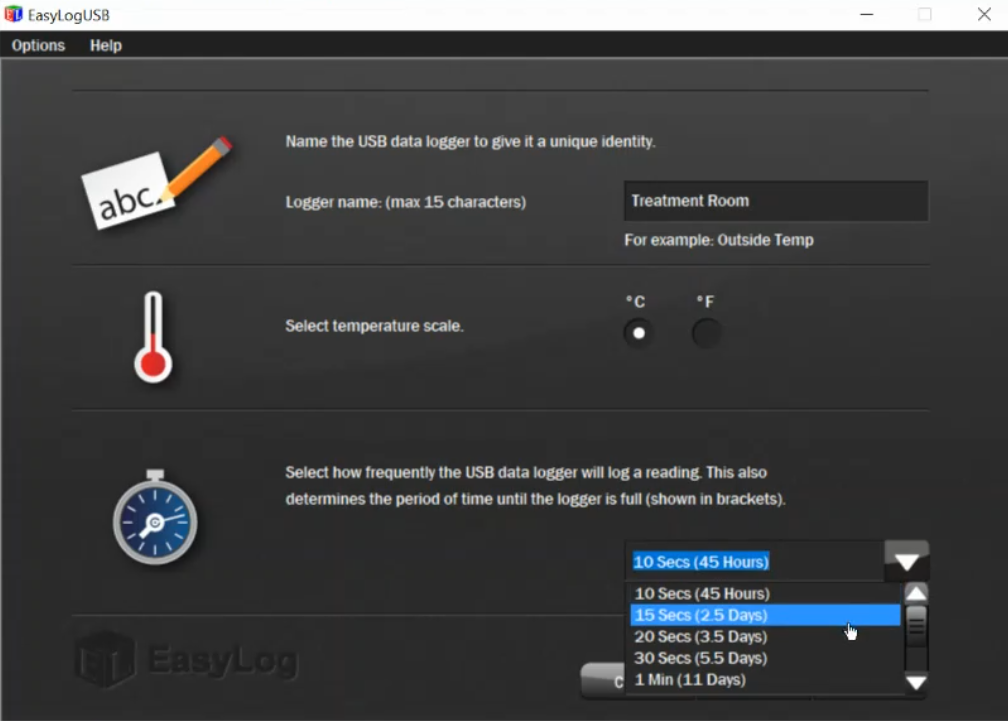
.....click Next
6. Settings Page 2
Alarms - Tick both high and low alarm
For pharmacy fridges, vaccines need to be stored between 8°C - 2°C
High Alarm - set to 8°C
Low Alarm - set to 2°C
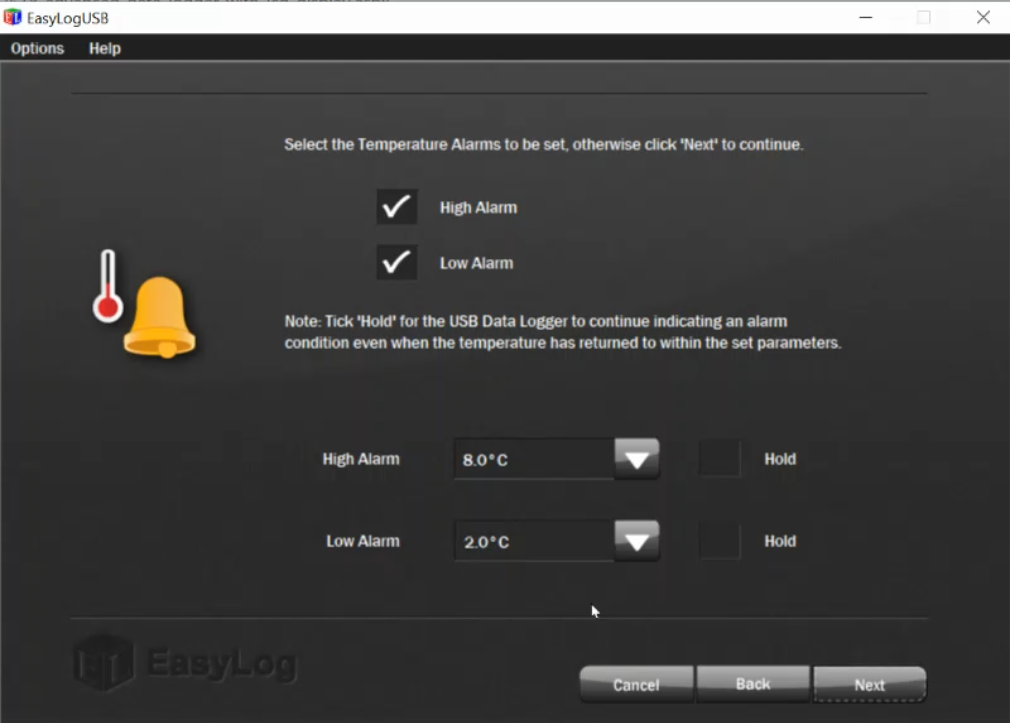
.....click Next
7. Settings Page 3
We would recommend selecting Delay and amending the Start Time for 2 reasons:
- You give the logger time to cool down so the readings don’t start with a big high-temperature spike
- It makes it easier for you to read the data if the Start Time is set so the readings start from the next hour or half-hour
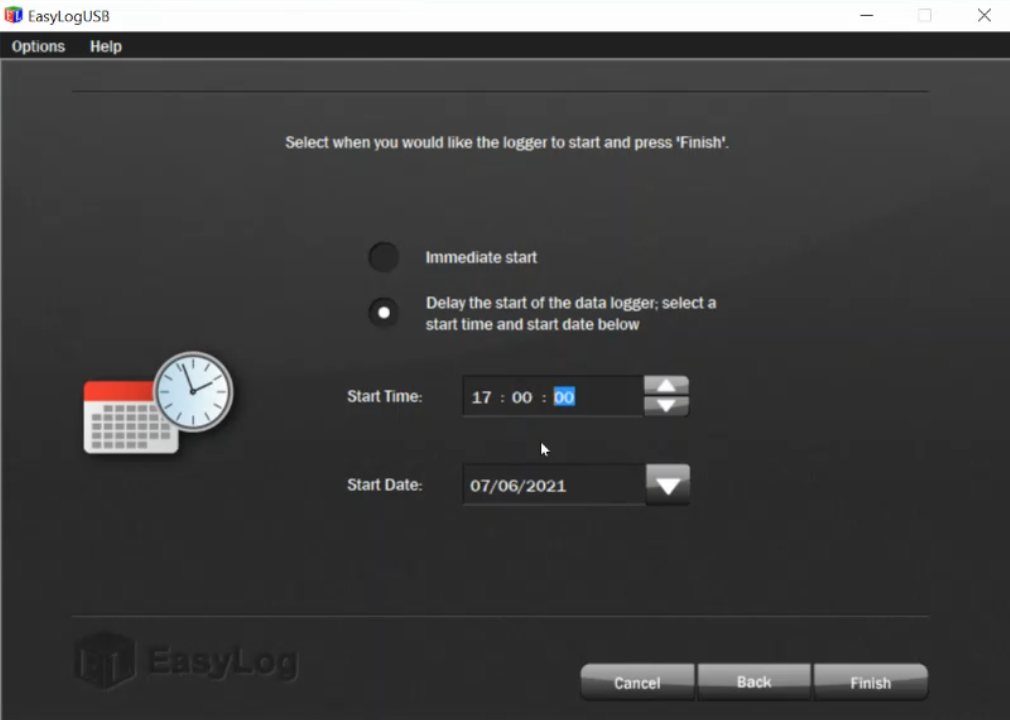
.....click Finish
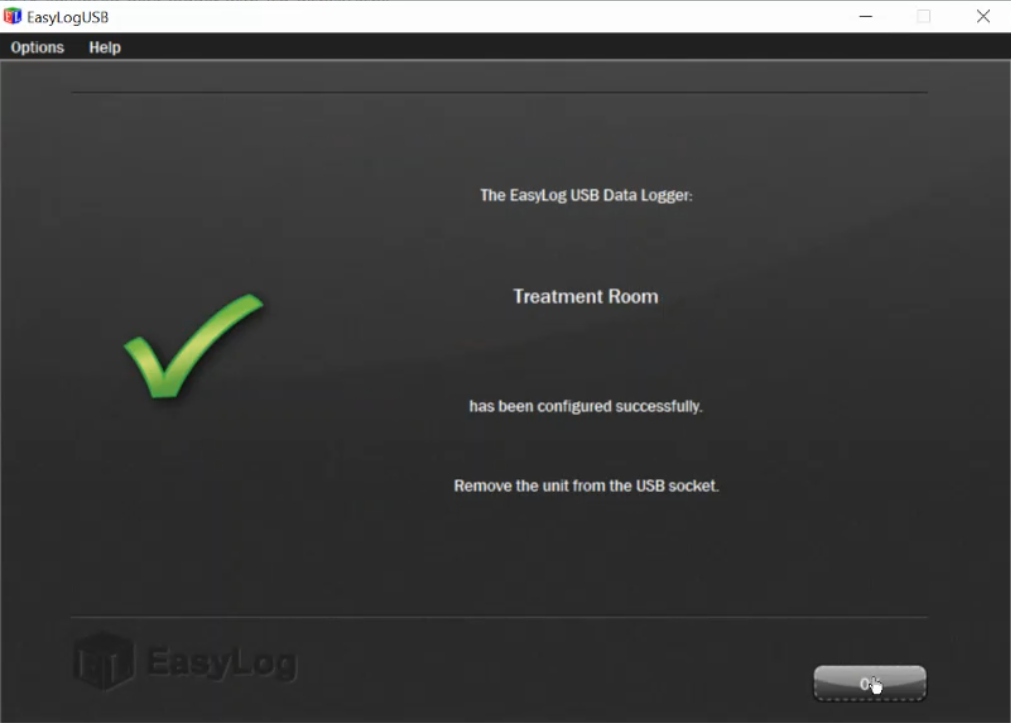
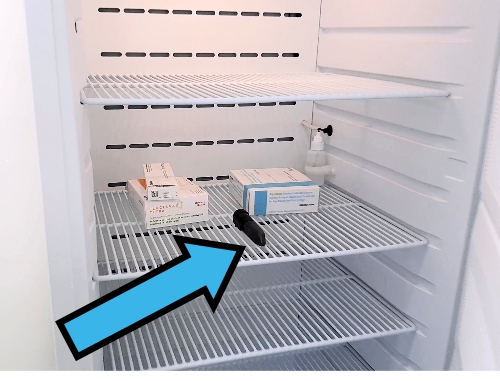
8. Click OK, unplug the data logger from your computer and place it into the middle of your fridge
How To Download The Data And Reset The Device
Click to view the step-by-step guide
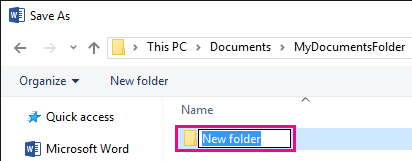
1. Firstly, have a folder set up on your computer to save your reports to - call it something like Fridge Temperature Data
2. Open up the EasyLog app on your computer
3. Remove the logger from the fridge and plug the logger into your computer USB port
4. On the EasyLog App, click Stop the USB ... and then Yes to the popup
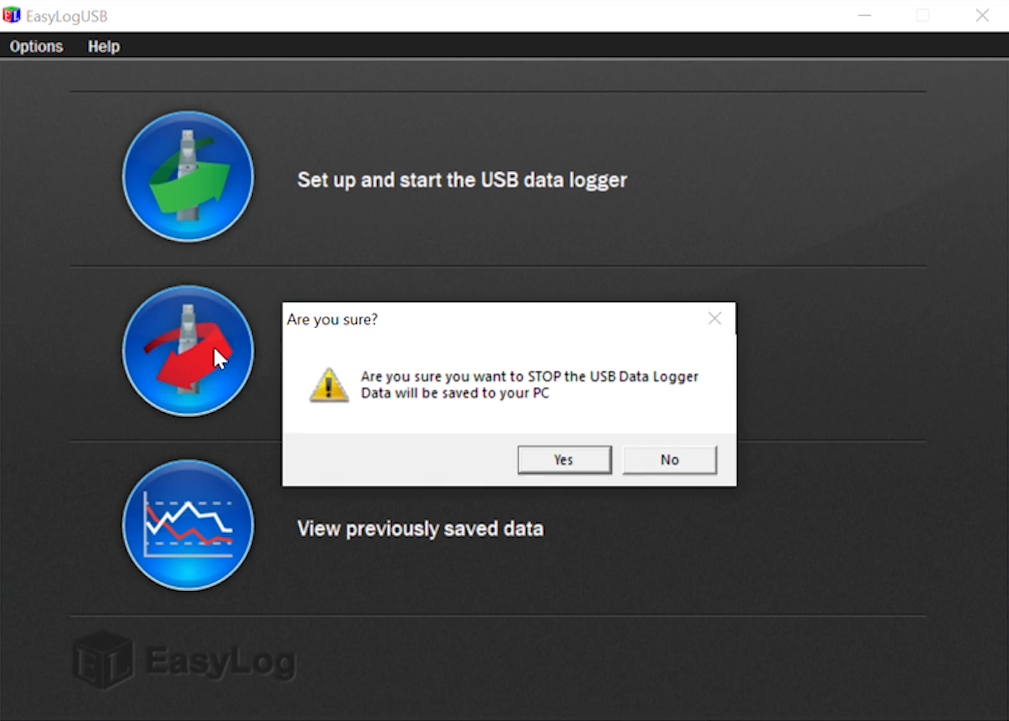
...Then click OK
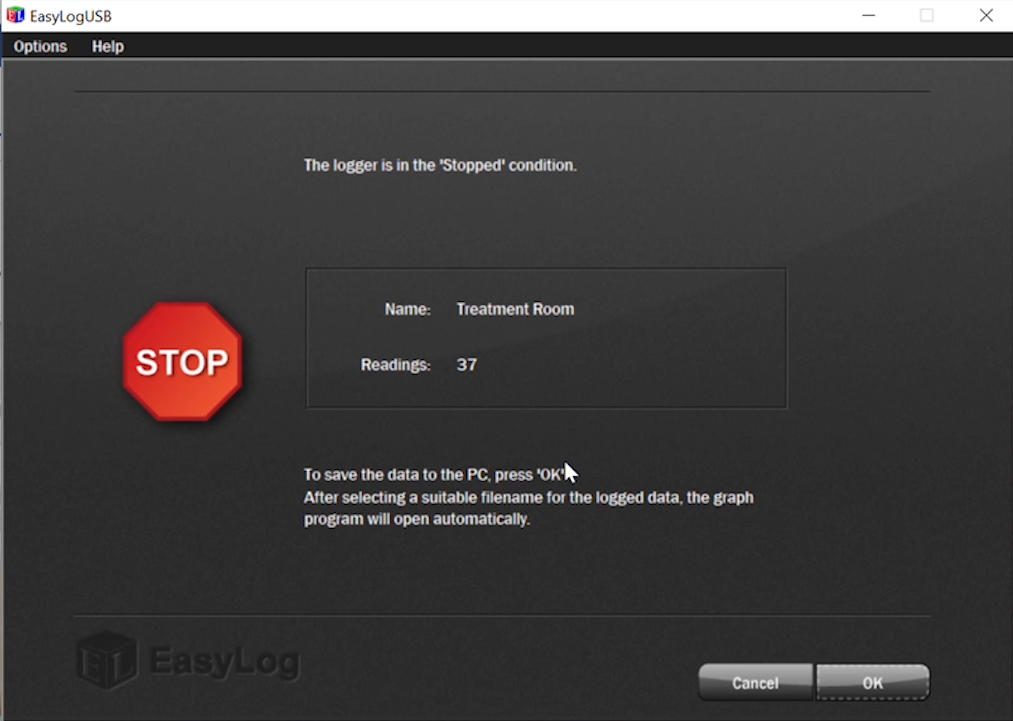
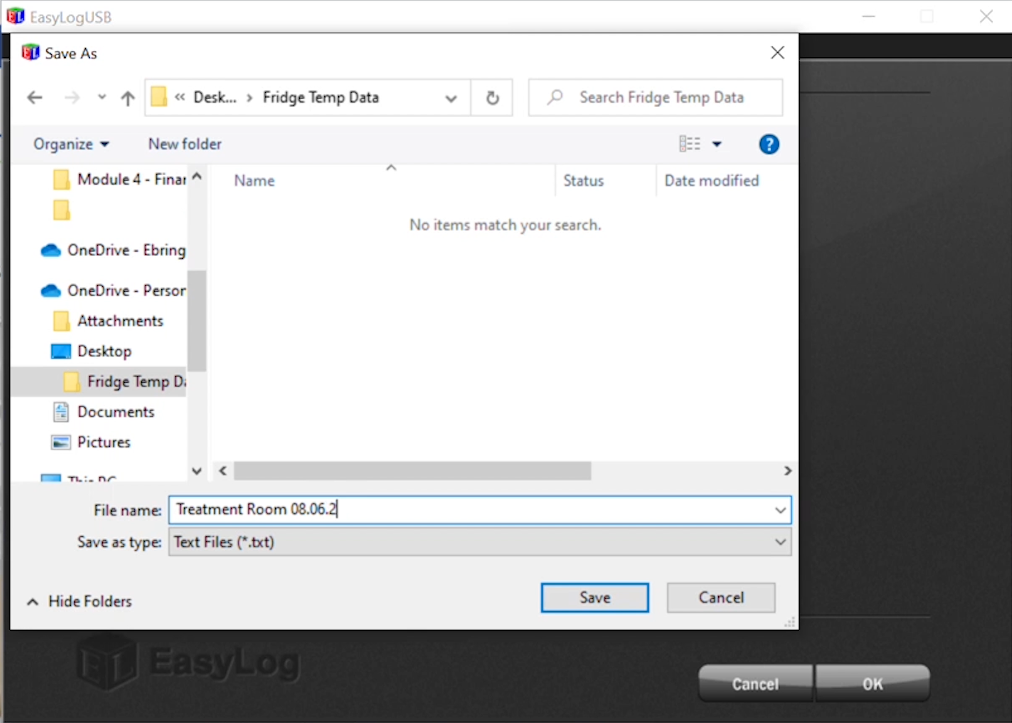
5. Save down the data
- Now select the location of the folder that you had created earlier to save the reports to
- Save the reading to it, perhaps renaming the file with today's date
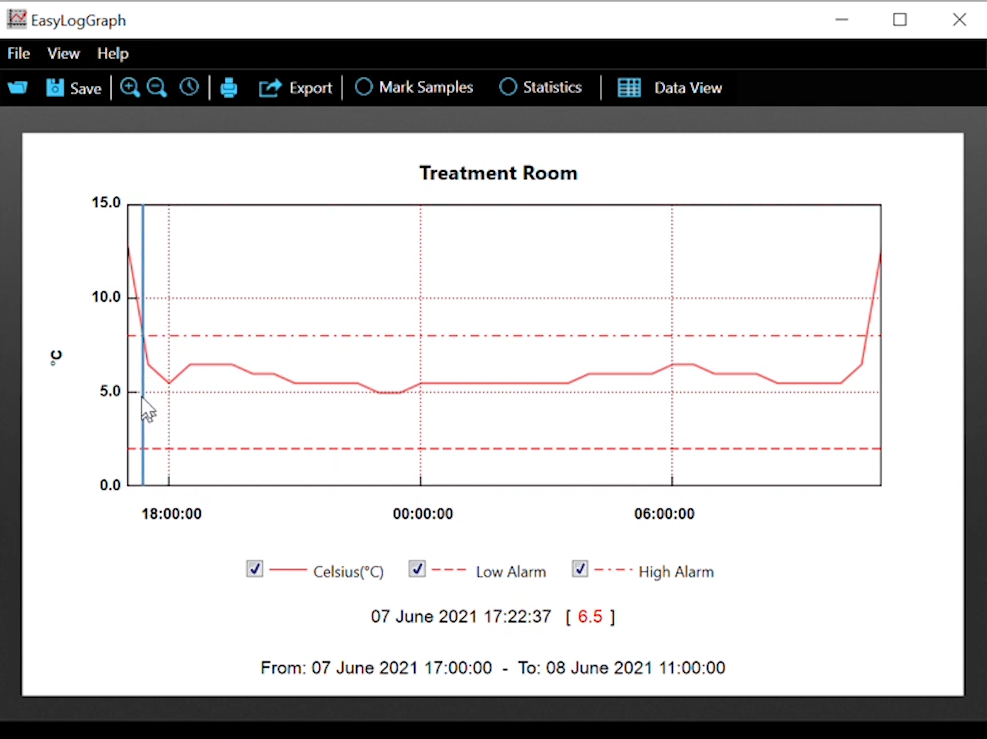
6. View the data
After saving, the file will then open as a graph
or you can switch to view in data form
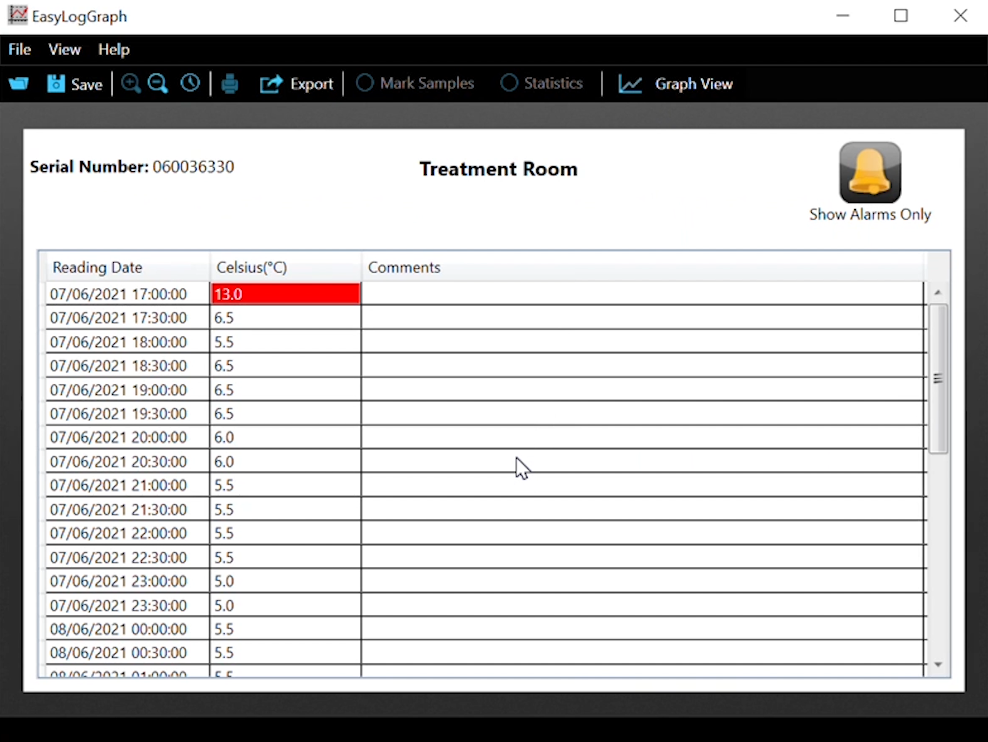
....X out once you've finished reviewing the data
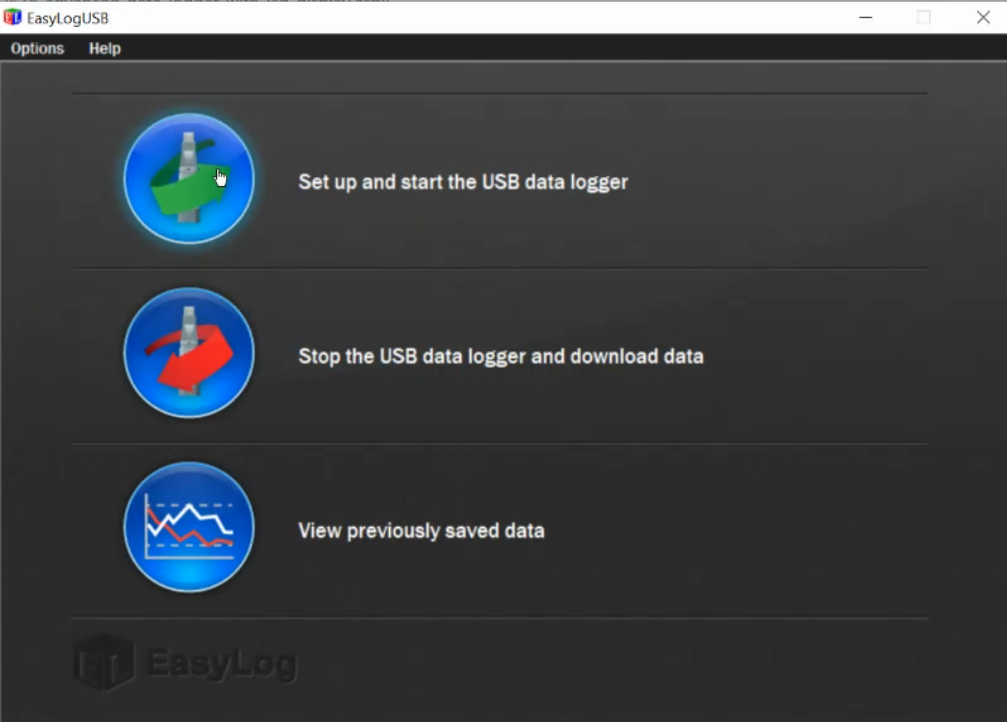
7. To reset the logger again click on Set up and start...
Your previous settings will remain the same so just click Next through the pages
As before, you might want to delay the start time to the next hour or half-hour
But other than that, click Finish and OK
Take the logger out of your USB port and put it back into the middle of the fridge
.....You're a PRO now🥳
To view previous saved records at any time, simply reopen the EasyLog app, select View previously saved data, and navigate to the report you wish to view.
